A Few Things I’ve Learned About Crafting Container Gardens and Keeping Them Looking Beautiful All Summer Long
I have a deep passion for gardening that has grown over the years. There's something incredibly fulfilling about nurturing plants and watching them thrive, bringing vibrant color and life to our surroundings. While our perennial garden provides a stunning, reliable base, I find that the real magic happens when we incorporate annuals and container gardens. They add a dynamic splash of color and variety that transforms our outdoor space into a living masterpiece.
Gardening isn't just a hobby for me; it's a passion, a lifestyle and a love affair with nature. Whether you're a seasoned gardener or just starting, container gardening offers a versatile and accessible way to beautify any space, from a sprawling backyard to a cozy balcony.
Choosing the right planter is the first step in creating a thriving container garden. I recommend starting with a planter that's 18-20 inches in diameter. This size is perfect for allowing multiple varieties and multiple plants of the same variety to flourish together. It's important to ensure that the pot size is sufficient for root development, giving your plants the room they need to grow strong and healthy.
Next, let’s talk about the soil. The type of soil you use is crucial for the health and growth of your plants. For container gardens, I highly recommend using Miracle Grow Potting Soil. It’s a fantastic option that provides excellent drainage and is enriched with nutrients to help your plants thrive. Another great choice is Espoma Organic Potting Mix. This organic option is perfect if you’re looking for a natural, environmentally friendly soil that still offers great support and nutrition for your plants.
Now, onto my container formula. This is my tried-and-true method for creating visually stunning and balanced container gardens. It involves three key components:
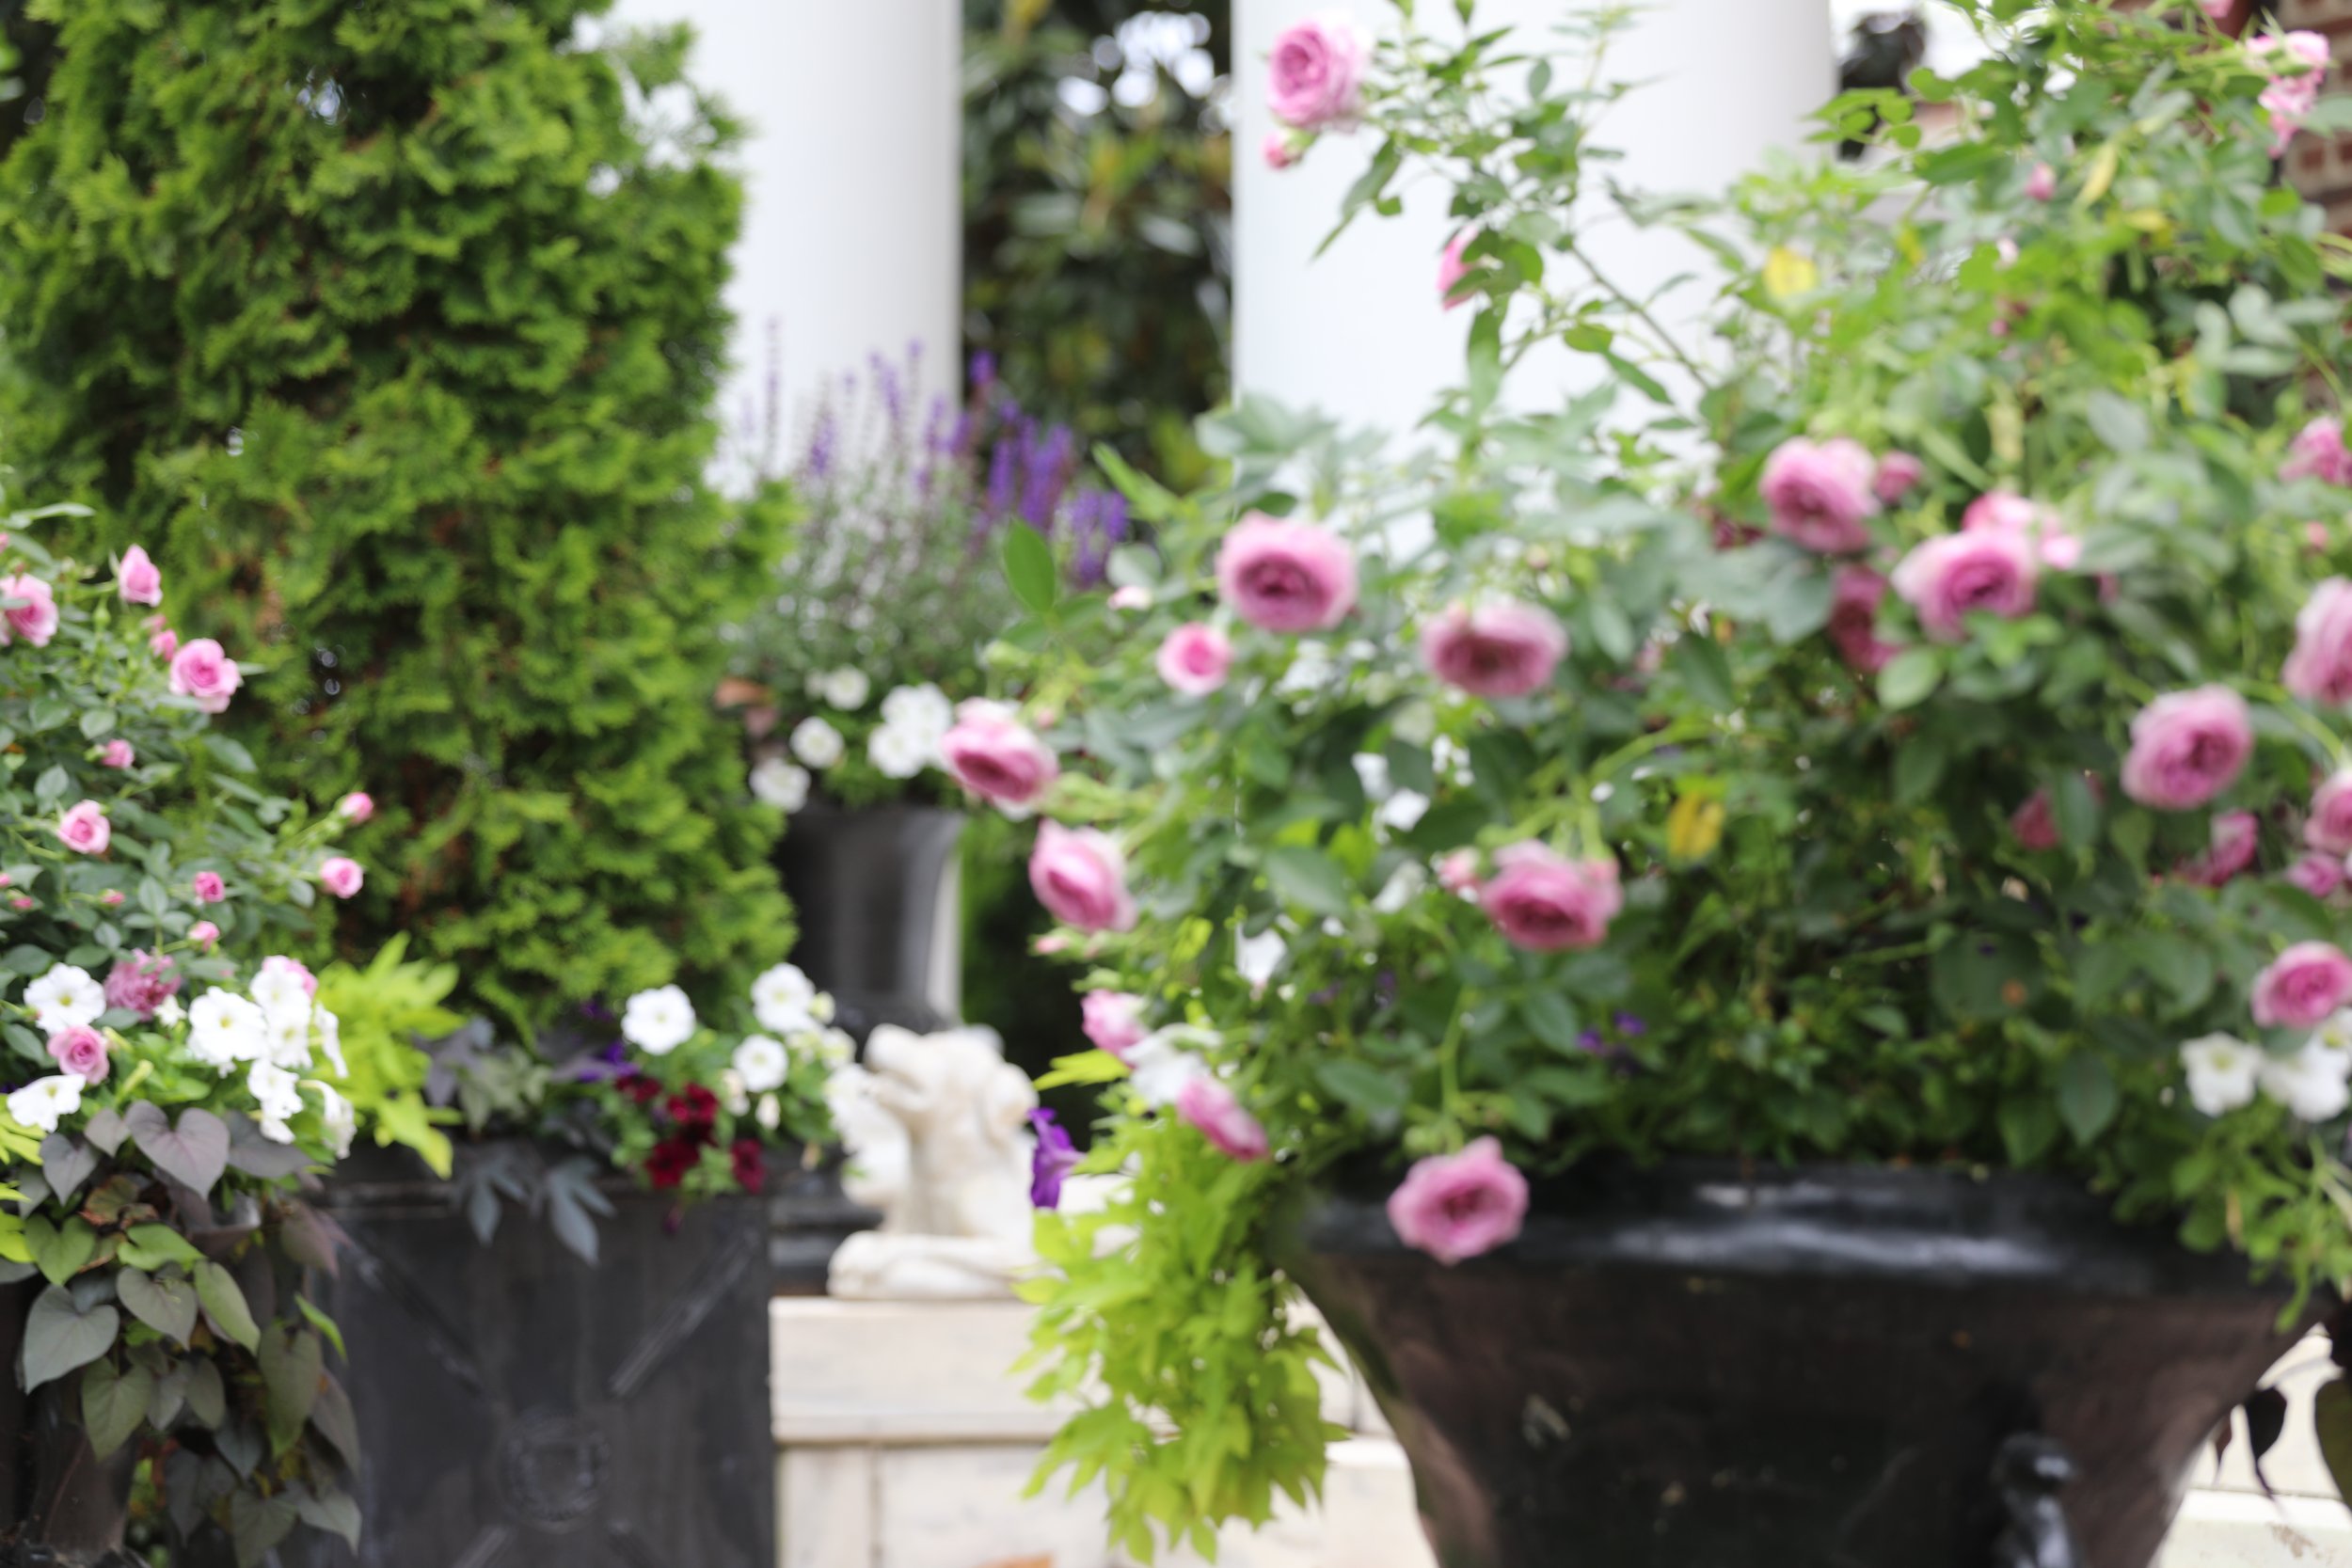
Thriller: Start with a tall plant in the center. This plant will be the focal point of your container, drawing the eye and adding height. Some great options include ornamental grasses, or tall flowering plants like Salvia, Larkspur, and various Spikes.
Filler: Surround your thriller with thick or spreading plants. These plants will fill out the middle section of your container, adding texture and volume. Some of my favorite fillers are Petunias, Torenia, Coleus, and Begonias. These plants come in a wide variety of colors and forms, making them perfect for adding depth and interest to your containers.
Spiller: Finally, add trailing plants around the perimeter. These plants will spill over the edges of your container, softening the look and adding a flowing, dynamic element. Sweet Potato Vines, Calibrachoa, Bacopa, and Creeping Jenny are excellent choices for spillers, as they provide a lush, cascading effect that enhances the overall design.
Finding the best plants at the best price is essential for any gardener. Here are a few places where I often source my plants:
Nurseries: Nurseries offer a wide variety of healthy, well-cared-for plants, typically priced between $5 and $15 per plant. The expertise and quality you find at nurseries are often worth the extra cost.
Big Box Stores: Stores like Home Depot and Lowe's carry a good selection of plants at more affordable prices, usually ranging from $4 to $10 per plant. These stores are convenient and can be a good source for bulk purchases.
Overwinter Plants: Don’t forget about overwintering plants from your current garden. Many annuals can be brought indoors during the winter and replanted in the spring, saving you money and extending the life of your plants.
McGreenhouse: If you're looking for a budget-friendly option, grow your own plants from seed or plugs. Ebay plant brokers and growers often sell plants for as little as 25 cents to $1 per plant. It’s a great way to ease into the gardening season while it’s cold outside and you’ll get your plants at a steal.
Now, let’s delve into starting a vegetable garden, which begins with seeds. Here’s my process:
Seeds Sown in Trays: I start by sowing seeds in trays filled with a good seed-starting mix. This provides a controlled environment for the seeds to germinate.
Grow Lights: To ensure strong, healthy growth, I use grow lights to germinate the seeds. This helps provide the consistent light they need, especially during the shorter days of winter.
Repotting Young Plants: Once the seedlings have grown a bit after the initial two leaves, I repot them into 4-inch containers and keep them under grow lights until spring. This gives them space to develop a robust root system.
Pruning Leggy Shoots: I prune leggy shoots weekly to encourage bushier growth and prevent the plants from becoming too spindly.
Transplanting to the Garden: When spring arrives and the danger of frost has passed, I transplant the young plants into the garden. The soil is enhanced with recycled potting soil from last year to improve fertility and drainage.
Fertilizing: I fertilize the plants every two weeks to ensure they have the nutrients needed to thrive throughout the growing season.
My process for growing from plugs works like this:
Order Plant Plugs and Rooted Cuttings: Rather than germinate from seed or buy costly blooming plants, I order plant plugs and rooted cuttings. These are young plants that are already started, with fully developed roots, and ready for the next stage of growth.
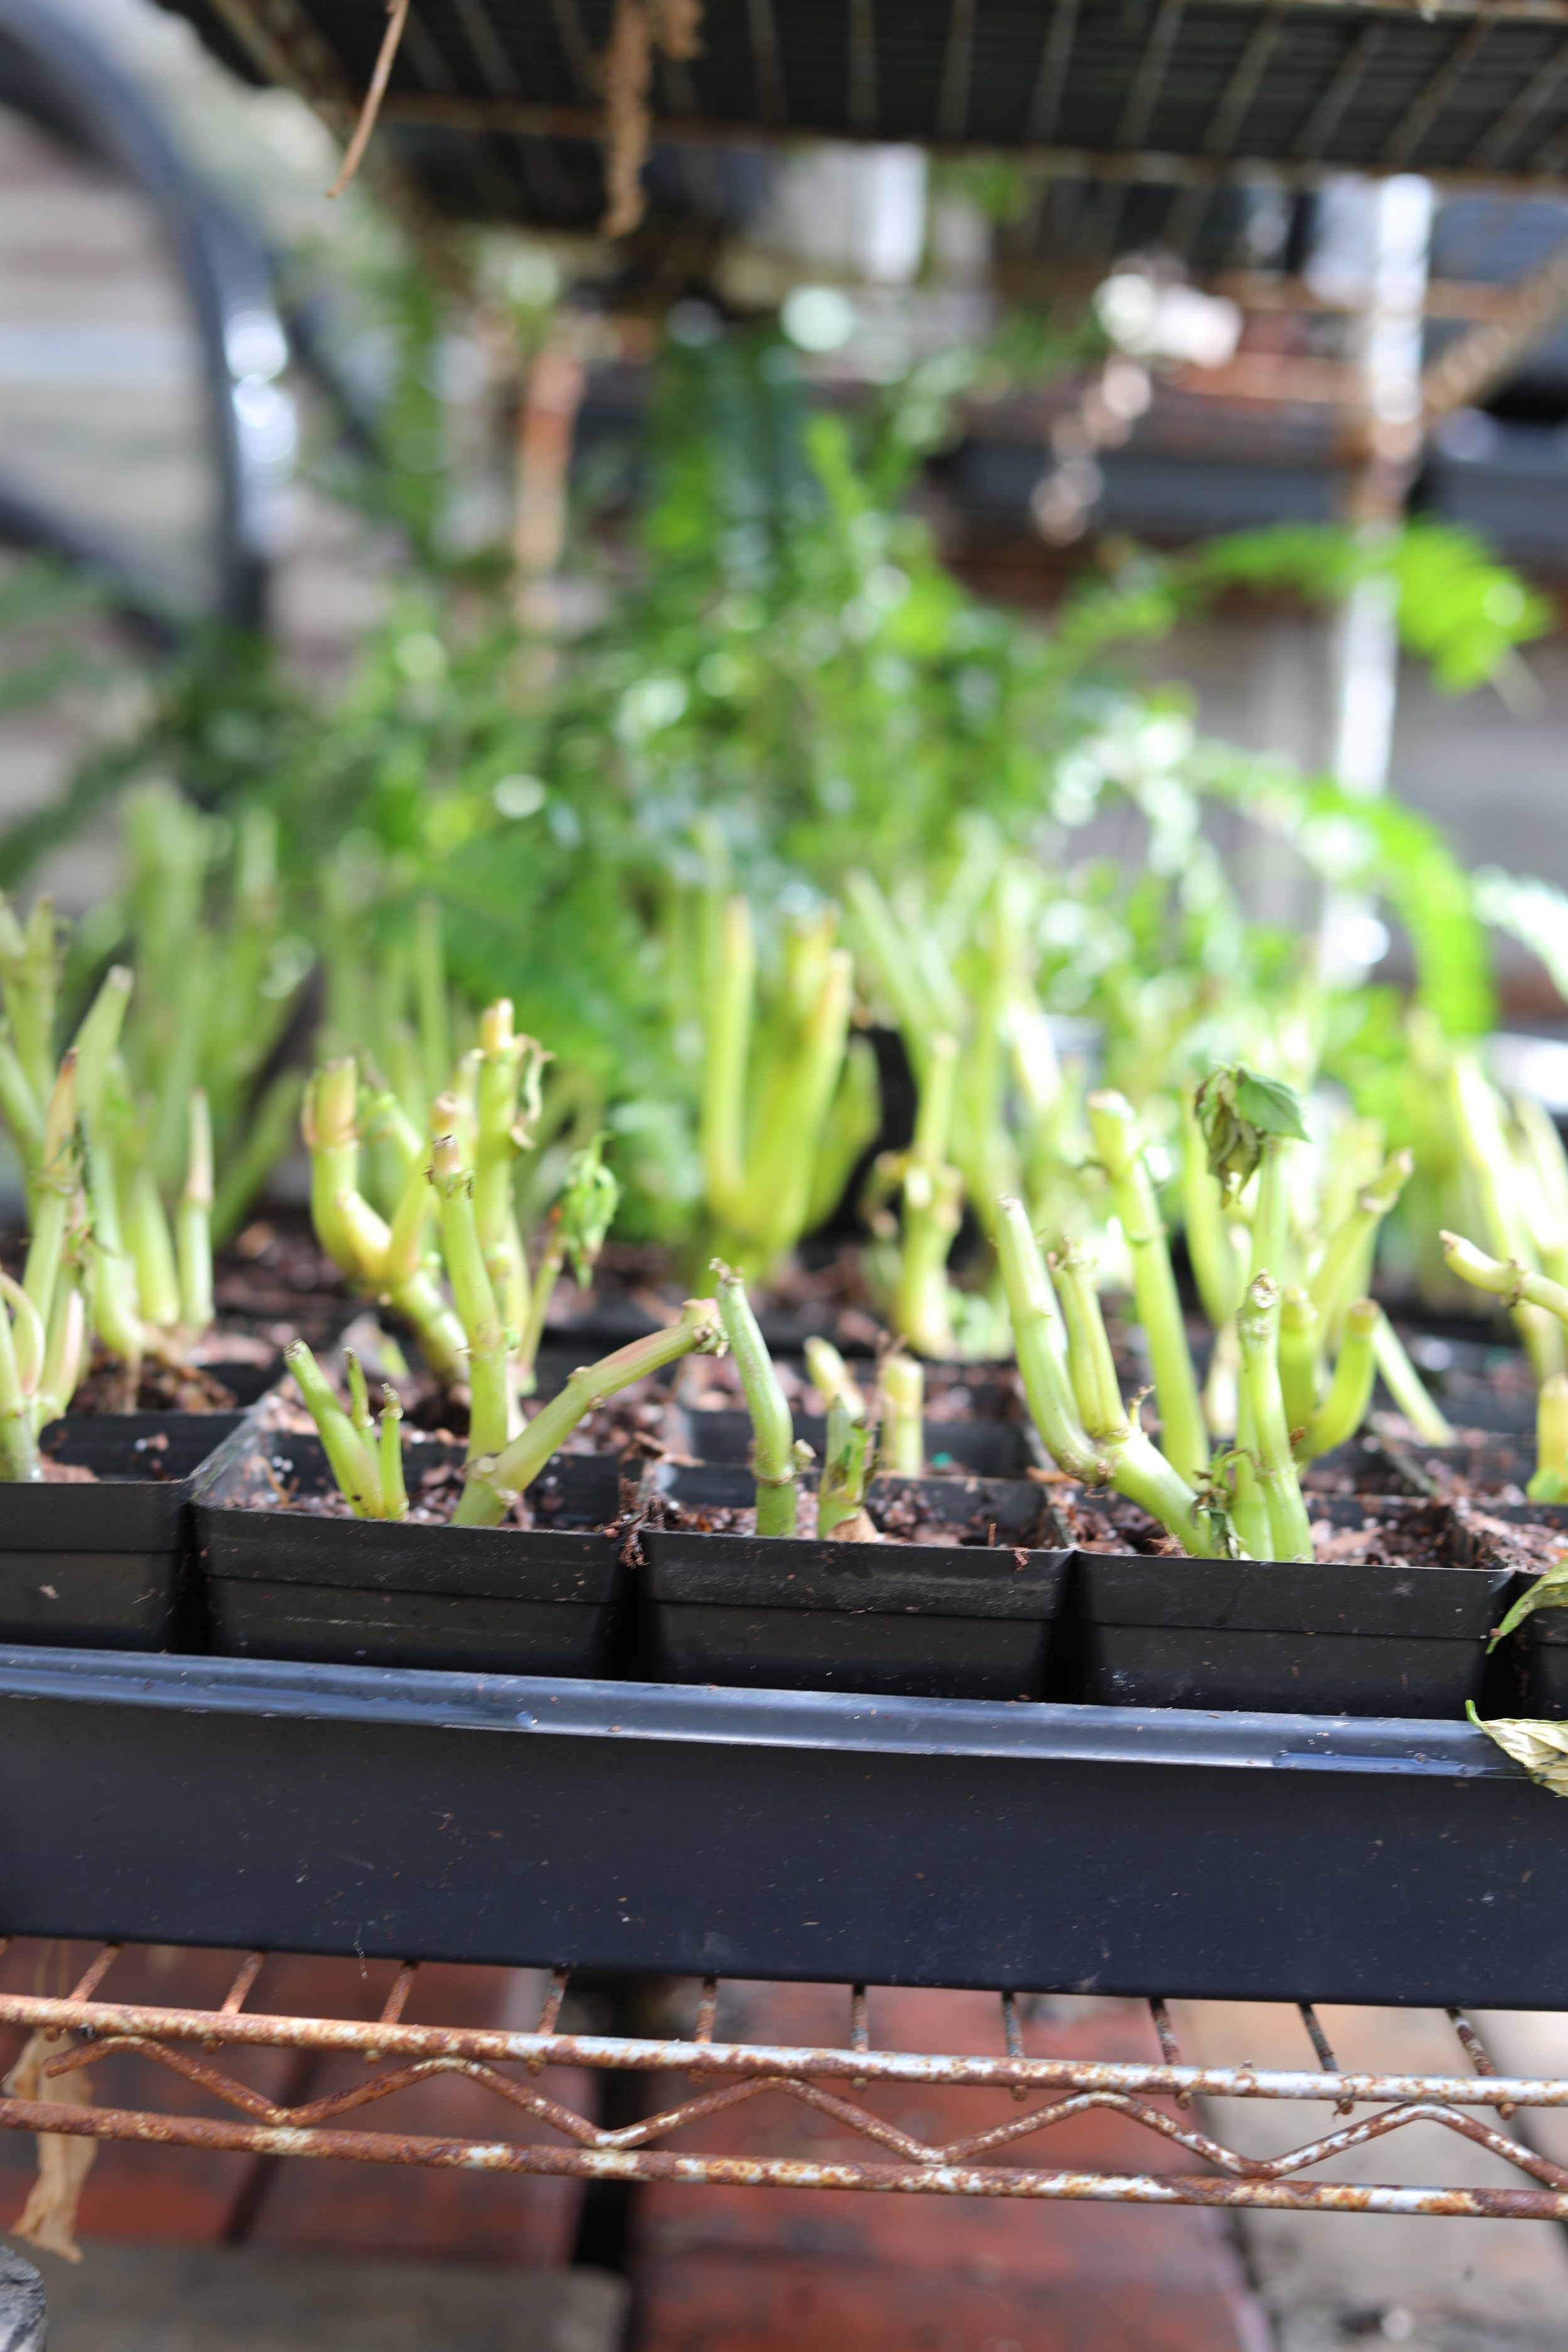
Repot Plugs/Cuttings into 4-Inch Pots: Once the plugs and cuttings arrive, I repot them into 4-inch pots. This provides them with more space to grow and develop a robust root system.
Grow in Greenhouse or Under Grow Lights: I then place these pots in the greenhouse or under grow lights. This controlled environment helps the plants grow strong and healthy until they're ready to be transplanted outdoors.
Prune Weekly: To encourage bushier growth and prevent legginess, I prune the plants weekly. This helps maintain a compact and attractive shape.
Fertilize Every Two Weeks: I fertilize the young plants every two weeks to ensure they get the nutrients they need to thrive. This regular feeding schedule keeps them healthy and vigorous.
Plant Fully Grown Annuals into Containers: Once the plants are fully grown and the weather is suitable, I transplant them into my container gardens. By this time, they are strong, healthy, and ready to make a stunning impact in my garden.
As we approach midsummer and late summer in our gardening journey, it's essential to implement strategies to ensure the longevity and vitality of our container gardens. Here are some final thoughts on making the garden last through the changing seasons:
Midsummer Maintenance:
Tall Plants:
Midsummer is a time to let the tall plants in your container garden flourish. Allow them to reach their full height and majestic beauty, providing vertical interest and structure to your garden.
Fillers and Spillers:
To maintain the lushness and balance of your container garden, it's advisable to trim back your fillers and spillers by one-third. This encourages bushier growth and prevents them from becoming too leggy or overwhelming.
Insecticide/Fungicide Treatment:
Protect your container garden from common pests and diseases with a comprehensive insecticide/fungicide treatment like Bayer 3-in-1. Regular application of this treatment helps prevent infestations and fungal infections, ensuring the health and vitality of your plants.
Late Summer Care:
Spillers:
As late summer approaches, continue to trim back your spillers by one-third. Additionally, consider lifting the trailing vines and spraying underneath to address any pests or diseases that may be lurking in the hidden areas of your container garden.
Insecticide/Fungicide Treatment:
Maintain vigilance against pests and diseases by continuing to use Bayer 3-in-1 insecticide/fungicide treatment. Late summer is a critical time to protect your plants from potential threats and ensure they remain robust and resilient.
By implementing these maintenance practices and utilizing effective treatments, you can extend the beauty and longevity of your container garden well into early fall. With proper care and attention, your garden will continue to delight and inspire, bringing joy to your outdoor space throughout the changing seasons.


